Hello again readers!
I’m back with another article that has been sent in to us! (It’s been a while I know!).
There has been a lot of interest in Bolt Action recently (It’s a great game, we’re loving the new Operation Market Garden Campaign Book – Matt) and as part of the hobby some scenarios need one off models (such as landing craft), this is an ideal time to try a bit of scratch building!
Our friend Steve has built a number of models for his collection so below is his guide on how to go about scratch building with card, over to Steve!
Scratch building a LCM for Bolt Action, by Steve Tee
I’ve been asked about scratch building by various people so I’m writing this article to explain.
The first thing you need to do is research. I usually find several photos/ drawings of my intended model, including a side and front elevation, and as many obliques as I want, to show all of the details. Also, I find the overall dimensions, usually on Wikipedia. With this information I can start marking up the pictures.
You will need to do two lots of scale conversions. The first is the picture scale, which will vary from picture to picture. Look at the overall length e.g. the LCM overall length is 15m. Measure the overall length on the picture. In my case I was lucky as this was 150mm which meant that every 10mm I measured on the picture was 1m in reality. With this information I could measure every thing I needed to and give it a metre size.
The next thing I needed to do was the 1/56 scale measurements. This is a direct multiplication of the metre sizes. In 1/56 scale 1 metre = 18mm so 15m overall length = 15 x 18 = 270mm, and so on until all your measurements are in 1/56 scale.
Now you will need to sketch out your various pieces of the model onto a master plan (I use squared paper) with sizes marked on, and number of parts etc. You will also need to work out your shape nets for building.
It is at this stage that I take a critical look at the photo details and decide what to include on the finished model. As these are primarily for tabletop gaming I tend to omit a lot of “irrelevant” detail as this just adds to the fiddly workload. For the LCM this meant leaving off the guns, although there would be space for those who wanted them, and the deck ventilation “horns”.
When it came to drawing the model parts out I used my favoured material, the Cheerios family sized box. Stiff enough for construction without being too stiff, easy to cut and fold, and big enough for most models. I managed to get all of the pieces I needed from one box.
I usually make a prototype to begin with, noting down every thing I do on the sketch plan, because there will always be problems. These can range from fitting, where you have made a cock up on the measuring front, to finding out that the way you want to build it just won’t work. These can either mean a quick tweak, noting down your problem, to throw it in the bin and start again.
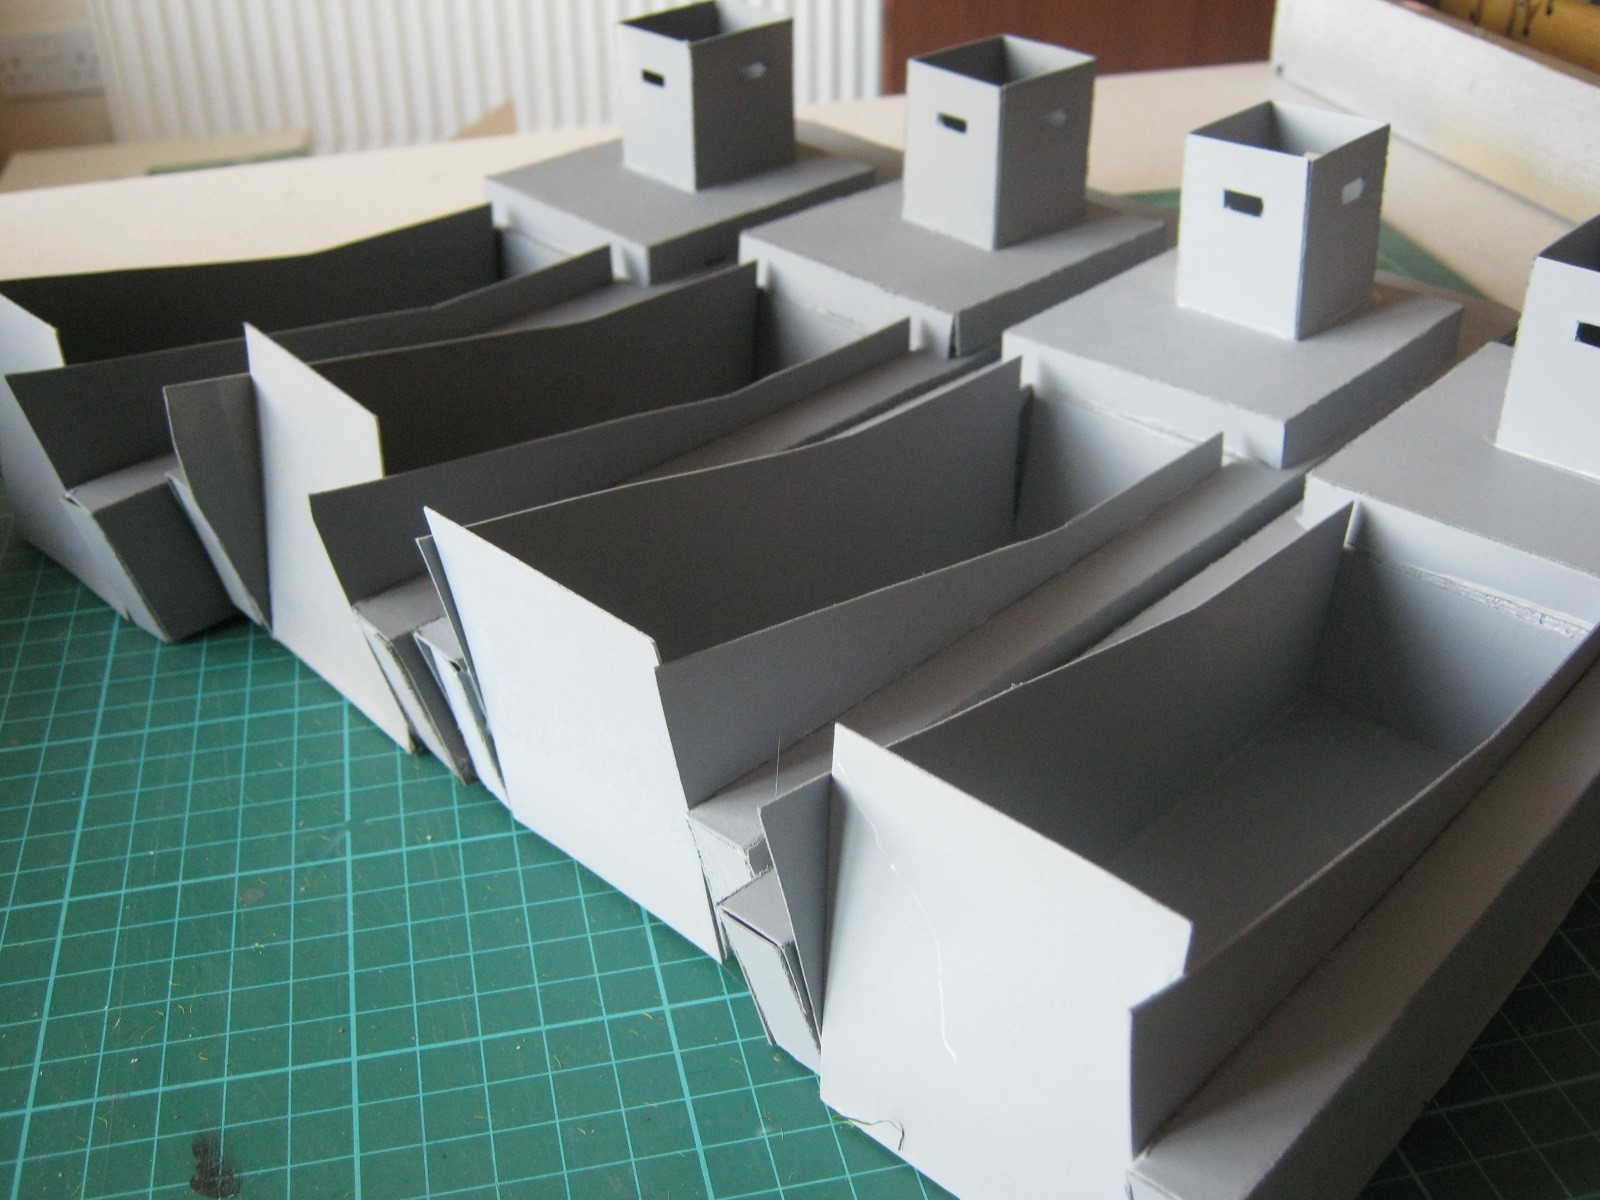
The tricky bit is working out how the parts go together. I decided to make the main part of the LCM in two large, folded nets. These, when built, would give the card model some structural support. After gluing together, I realised that a) I would need a couple of transverse bulkheads to support the bridge end of the boat, and b) I would need two smaller baffles each side of the troop deck as support as well.
I mark out using a sharp pencil and score with the back of a scissor blade and ruler on all of the fold lines before I cut out. Generally a sharp pair of scissors is good enough, but occasionally I have to use a craft knife. The adhesives I use vary from joint to joint, superglue and superglue gel are useful for prototyping, as is contact adhesive, but my mainstay is the hot glue gun.
The superstructure was basically one rectangular deck and a wheelhouse. The deck needed some support in the corners as the 10mm return was a bit fiddly to just do a butt join so I used some 20mm square plastic bases on the prototype. I think on future ones I will either use hot glue, which sets quickly, or balsa to support.
The landing ramp I decided to leave unfixed in either position as the friction of the card enabled it to stay upright without the need for any catches etc.
Once all the glue was dry I sprayed the entire model with Halford’s Matt grey primer. Job done. There is nothing to stop you from super detailing your models if you want to.


We’re looking forward to seeing these land on a beach soon!
Thank you Steve for a great article! As we’ve said before we plan to bring you more articles in the future! (Richard should be doing some painting guides, and I hope to get some done as well – Matt)
If you’re keen to get involved in the world of Bolt Action we have a range available in store and on the the Langden Games webstore.
Remember if you’d like to send in an article simply email to me at daphne@langdengames.co.uk


This is really good!